Upcoming Events
Classes, Demos, Community Days
Machinery
Bandsaws, Lathes, Thicknessers and MORE
Student & Teacher Portal
Exclusive resources, pricing, and guides for HSC students & teachers.
Ready to turn your ideas into award-worthy creations? Visit the Student & Teacher Portal below and unlock everything you need for HSC woodwork excellence.


Discover the Magic of Woodturning with Trend Timbers
Whether you’re looking to expand your skills or explore a rewarding new hobby, our Woodturning Classes are the perfect place to start.
Held onsite at Trend Timbers in Mulgrave NSW (near Windsor), these hands-on sessions require nothing more than enclosed shoes and your enthusiasm—we provide everything else. All tools, safety gear, and materials are supplied, so you can focus on learning and creating.
Our classes are extremely popular and spots fill quickly, so don’t miss out—secure your place today and experience the joy of turning timber into something truly special.
Shop Timber
-
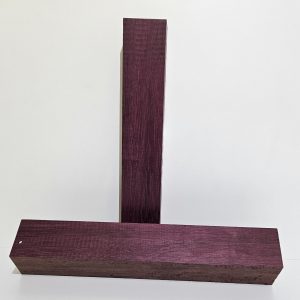
Purpleheart Spindle Blanks 50mm square × 300mm long
$51.50 -
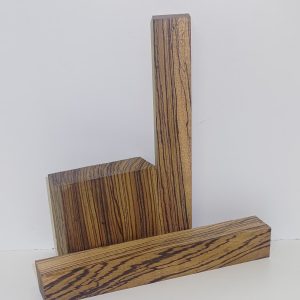
Zebrawood Spindle Blanks 50mm square × 300mm long
$62.00 -
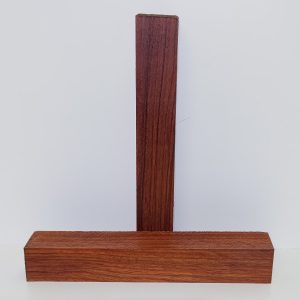
Padauk Spindle Blank 50mm square × 300mm long
$48.50 -

Ovangkol Spindle Blanks 50mm square × 300mm long
$34.50 -
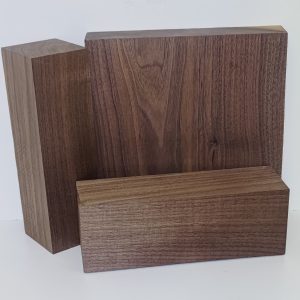
Black Walnut Spindle Blanks 45–75mm square × 300mm long
Price range: $24.00 through $56.50 -
Jarrah Spindle Blanks 45mm square × 300mm long
$23.00 -
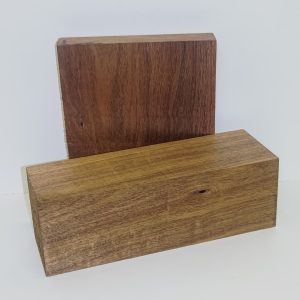
Tasmanian Blackwood Spindle Blanks 100mm square × 300mm long
$61.00 -
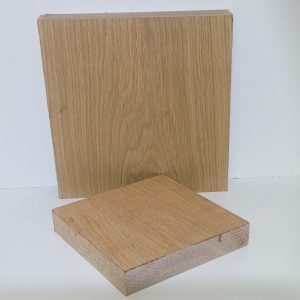
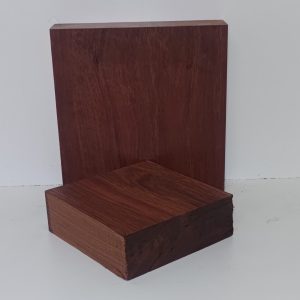
American Oak Bowl Blanks 190–230mm square × 50–75mm thick
Price range: $48.50 through $62.00
Popular Brands
